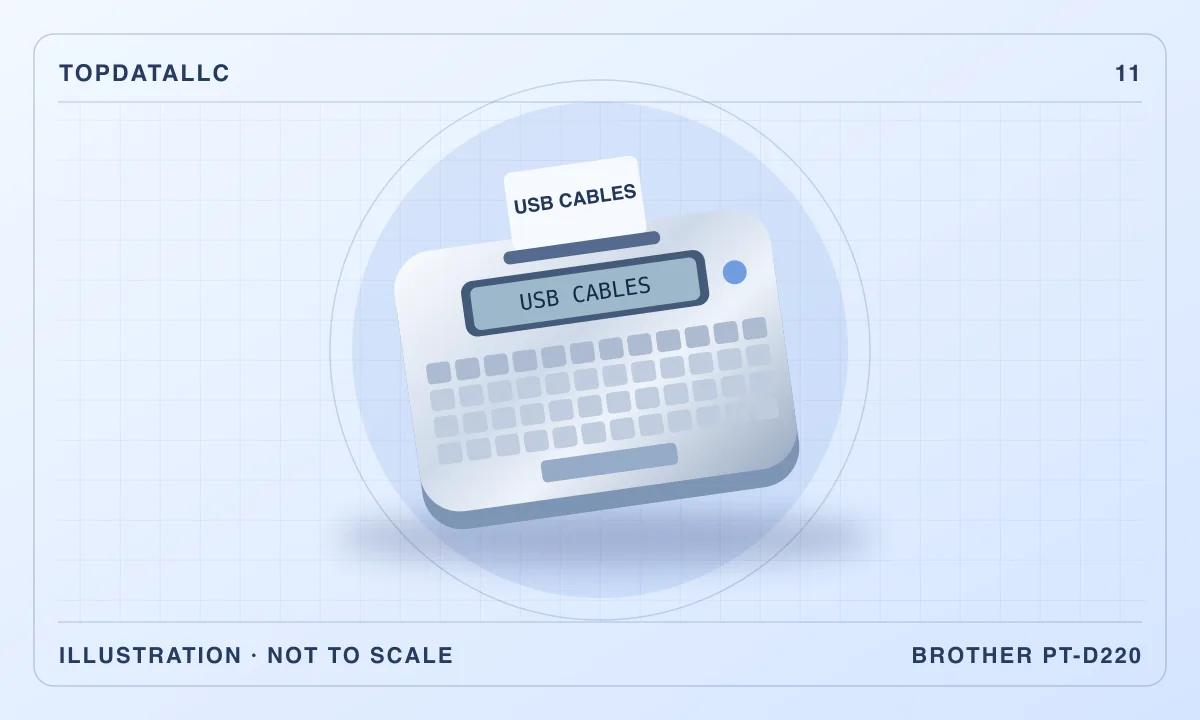
The Brother P-touch PT-D220 makes sense when the labels you need are short, narrow and easier to type on a dedicated keyboard than on a phone. It prints on Brother TZe tape up to 12 mm wide, and you can make a label from the machine itself. That combination suits the front of a drawer, a shelf edge or the case that holds one kind of cable. It puts a firm limit on the amount of information each label can carry.
This is a research-based review of the US PT-D220. Brother's specifications and model-specific manual establish the tape, power and print controls. Drew & Jonathan's review documents using the D220 for a household organization project. Use that account for an example of the workflow and Brother's documentation for compatibility and setup.
Make a list before choosing a tape width
Write down ten things you would actually label. If you have a desk full of adapters, start with the things you confuse. For example, the box for spare video adapters might only need DISPLAY ADAPTERS, while a charging cable might need the name of its device. A shelf that holds tools may need labels large enough to read while standing. Try reading your proposed wording at the distance where it will matter. The same short text can work on a drawer under your hand and be too small to see at the back of a cabinet.
Measure the flat strip available for the label. On a drawer pull, a tool case or a narrow shelf lip, the limiting space may be the smooth section between raised details. A label with a little clearance on all sides will be easier to align. Brother lists compatible TZe widths of 3.5 mm, 6 mm, 9 mm and 12 mm. The width is the width of the tape itself. The actual printed area also has to leave room along the edges, and the layout depends on the font and line settings you select.
If the information needs to be read from across the room, use a larger sign or a wider label maker. If the text is too long to fit on an edge, consider changing the wording or putting a wider label on the front of the container. Write USB-C VIDEO on the box and keep the individual adapter models on a slip inside if you only need those details when shopping for a replacement. The useful label is the one that answers the question someone has when reaching for the item.
Check the surface as carefully as the lettering
The sample in the standard carton is black text on white laminated tape. This is a practical starting point for smooth shelf fronts and storage boxes. Before ordering replacement cassettes, decide whether the main problem is visibility, adhesion or fit. Clear tape may be visually tidy on a light-colored surface and difficult to read on a dark one. High contrast helps when you are looking into a cabinet in poor light. A specialty adhesive may be relevant when the label has to go around a narrow cable.
Brother lists a selection of compatible TZe types, including flexible ID and extra-strength adhesive tapes. Check the specific cassette's surface and use instructions. A cassette that fits the printer can still be a poor match for the surface you want to label. Test one label in a discreet spot before committing to a row of containers, particularly if the finish matters or the labels may need to come off. For cable identification, a flat label on the storage compartment can be easier than a wrap if you rarely need to read the identification while the cable is in use.
Avoid putting a label over information you will need later. Leave equipment ratings, serial numbers and ventilation openings clear. Use an accessible surface where the label remains visible with the object in its usual position. A cable marked near its connector can be helpful when you unplug equipment. A labeled pouch may work better for a cord kept in a drawer. The aim is to shorten the search, so place the label where you begin looking.
Set up the machine for the way you work
Brother lists a physical QWERTY keyboard, an unlit preview display and a manual cutter. The printer uses six AAA batteries or a compatible AC adapter, purchased separately in the standard package. The listed starter cassette lets you check how the output looks before buying other colors or widths. If the unit will live in a drawer and come out for occasional changes, battery operation keeps it easy to move. A compatible adapter can make more sense when the machine will stay at a desk for a larger project.
Plan a place with enough light to see the display. The keyboard is useful for direct entry, particularly if you prefer to make a quick label without pairing another device. Its display has limited space. For longer labels, rely on the preview function, check the wording carefully and print one proof before producing copies. If you often draft elaborate layouts, maintain a large catalog or want to reuse text from a computer, a model designed to work with software will make that job easier.
Pay attention to the actual purchase listing. The PT-D220 is sold in packages that may differ in tape quantity or included accessories. The starter tape in Brother's standard carton is a sample. Compare the contents of the exact package with the first project you have in mind. If you intend to label a whole workshop in different colors, price and plan the suitable cassettes as part of the purchase. For a few drawers, the sample is a useful way to establish which size and style you want next.
Use margins to make a batch easier
Short labels can use more tape than the text alone suggests. There has to be blank space at the ends, and the cutter is separated from the part of the printer that prints. Brother documents several margin options, including Chain Print. Its PT-D220 manual explains that you can prepare successive labels in a chain, feed the tape at the end and then cut the chain. Follow the model-specific sequence, including the feed before cutting. Cutting too soon can remove part of the final label.
Set up a small batch before loading a new cassette for a whole-room project. For example, type BATTERIES, CHARGERS and SPARE CABLES, using the same style and margin setting. Preview each one, then try the documented chain process and trim the individual labels at the indicated marks as directed. You can see how much extra tape the process uses, whether the sizes look right together and how much trimming you are comfortable doing. For a single occasional replacement label, the simpler individual print sequence may be more convenient.
Decide whether every label in a group needs the same visual width. Labels along one shelf can look orderly with consistent spacing. On mixed storage boxes, a shorter label can be easier to place without crossing a seam. Use the preview and a small proof set to find a layout that fits the surfaces. Decorative frames can make the text feel crowded when the available height is limited. Start with plain text and add styling only if it helps you distinguish groups.
Name things so the labels stay useful
The PT-D220 is a better fit for categories that will remain meaningful. A box labeled PHONE ACCESSORIES can keep its name after an old charger is replaced. A label with a specific model name is more useful when two nearly identical items serve different equipment. Before printing, decide which kind of information matters. Someone else should be able to put the item back without guessing what your shorthand means.
For shared storage, read the names as a set. TOOL BITS and DRILL BITS could be confusing beside one another, while DRILL BITS and DRIVER BITS describe a useful distinction. If you are reorganizing a shelf and still moving things around, use removable notes for a week before printing the permanent set. This lets you refine the categories first. Use the label maker when the new layout is stable enough that the labels are likely to earn back the time you spend applying them.
If you change what a bin contains every few days, use a reusable tag or an erasable surface. Narrow laminated labels are more useful for the stable locations and equipment you need to identify repeatedly. Try doing the project in two passes. Label the shared shelves and the items that are often mixed up first. Leave the easy-to-identify items alone until you know they need a label. That approach saves tape and lets you find problems with the naming scheme while they are easy to correct.
Plan labels that can survive a change in layout
If your workshop stores similar supplies in removable bins, choose whether to label the bin or its position. A label on a bin follows the contents when you move it. A label on the shelf helps someone put a bin back in a specific place. Using both can be useful for frequently borrowed supplies, but print the shelf label only once you know the bin will stay in that location. Try this distinction on a small row before applying a permanent label to every surface.
For a repeat label, such as a name for a shared set of cases, save the layout using the memory procedure in Brother's manual. Keep a simple list of the names and the tape used if several people will replace labels later. A short sample affixed to the inside of a storage door can help them match the lettering. If you expect to reprint dozens of different labels from a regularly updated inventory, the amount of manual entry is a good reason to look at a computer-connected printer.
Decide between a standalone printer and the alternatives
The Brother is a good match for occasional batches of narrow labels and for a desk where typing directly is the appeal. For large lettering, compare a Brother P-touch model that explicitly accepts wider tape and check that it supports the types you need. For graphic layouts, saved projects or importing a list, consider a computer- or phone-connected machine and confirm its supported operating systems before buying. For shipping labels, choose a printer and consumables made for the sizes and output required by your carrier.
A sheet of writable labels can be enough if you expect to label only a handful of boxes. It is also a useful trial run for an organizing project. If you find yourself redoing the same categories, wanting several matched labels or needing to identify narrow equipment cases, a dedicated machine begins to make more sense. If you only want large lettering on the front of one shelving unit, a sheet printer or sign may address the job in less time.
The purchase check is straightforward. Find a flat place for each label, measure the smallest one, write a short name you can read where it will be used and choose a compatible tape for the surface. Then decide how often you will make more labels. The PT-D220 is worth considering when those answers point to narrow text, a dedicated keyboard and enough repeat use to justify keeping a supply of tape and power on hand.