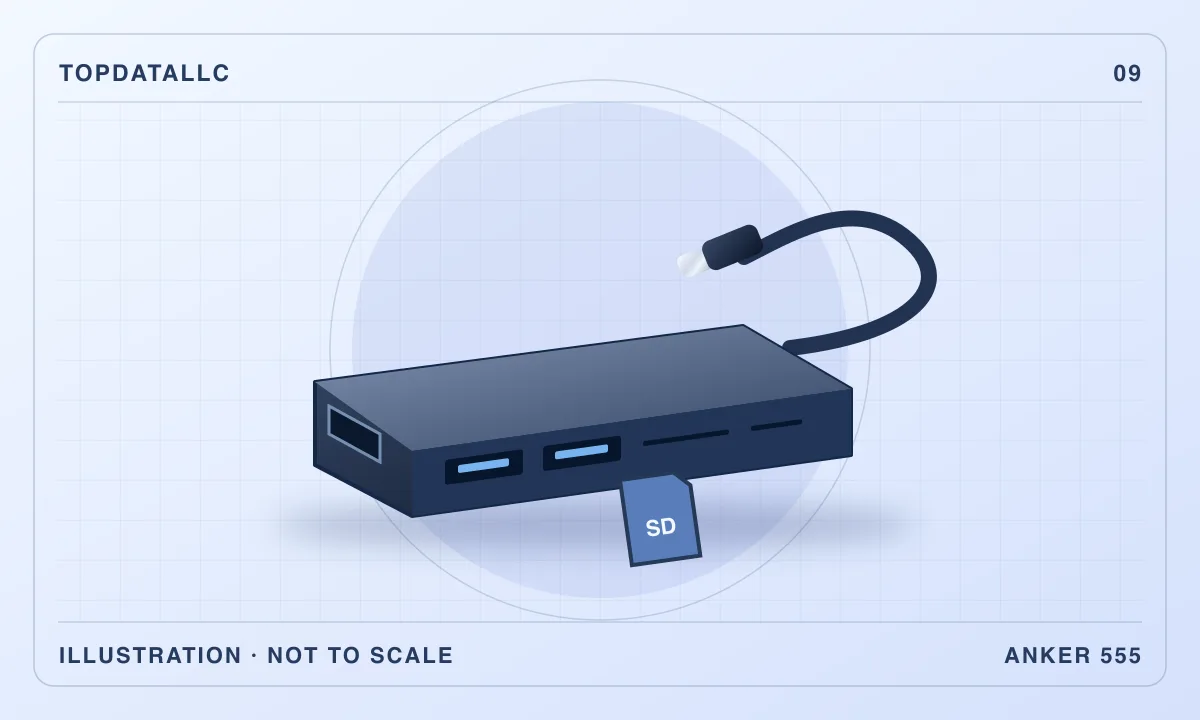
The Anker 555 USB-C Hub is a good candidate for a photographer or home-office worker who comes back to a laptop desk with a camera card, an HDMI monitor and a wired network. The A8383 model combines all three connections with USB data ports and a separate charging input. Its value depends on what your laptop can do through the chosen USB-C port, how much power the laptop needs and where the attached cable lets the hub sit.
This review covers the eight-port A8383 US version. Anker sells several similar-looking hubs under different names. Check the model number and port layout before relying on the specifications here. The assessment uses Anker's published documentation and two independent reviews of this model.
Map the connections you will actually use
Start by putting the laptop on the desk where it normally sits. Imagine a working session with the external screen active, a card inserted, an Ethernet cable connected and an external drive available for a copy. Then identify which side of the laptop has the USB-C port you intend to use. The Anker has an attached host cable, so the location of that port largely determines where the hub and its collection of cables can rest.
Anker lists one HDMI port, wired Ethernet, separate SD and microSD slots, two USB-A data ports, one USB-C data port and one USB-C power input. This layout is useful when the same laptop goes out during the day and returns to a workstation where most cables stay put. You can leave the monitor and network connected to the hub, then attach the laptop and insert a card when you need it. That saves several separate connections if the hub can sit comfortably near the computer.
The short attached lead is worth checking before you buy. Fstoppers noted its limited reach and stiffness in its review. If the laptop sits flat near the front of the desk, the hub may rest easily beside it. If the laptop is elevated on a stand, the lead can leave the hub or its cables hanging. Place a small object the size of a hub near your laptop and imagine the HDMI and Ethernet plugs pointing away from it. You want the hub supported on the desk with room for the leads to bend naturally.
Confirm the screen path end to end
Anker rates the HDMI port for up to 4K at 60 Hz. That ceiling assumes a compatible source, display and cable. USB-C describes the connector shape, and laptop ports with that shape can have different capabilities. Look up your exact laptop and the location of the port, especially on a machine with several similar-looking sockets. VESA's DisplayPort over USB-C guidance explains the role of the host's video support. Check Anker's host requirements and the laptop specifications together.
Also check the display's HDMI input. The monitor's advertised maximum may apply to another input or a particular mode. Confirm that your chosen HDMI input and cable support the setting you want. Once connected, check the resolution and refresh rate in the operating system with the actual display selected. A desktop that appears correctly on the screen can still be running at a lower refresh rate than expected.
For photo work, display compatibility also includes the behavior you need from your editor and monitor. Keep any display settings you normally use for judging images. The hub's HDMI specification concerns the video connection. It does not establish the color performance of a particular display or the accuracy of the resulting setup. If you depend on a specific display mode, confirm that exact combination early instead of inferring it from the 4K label.
There is one HDMI output. If you want two independent external screens, start with a dock whose documentation covers your laptop model and operating system. Check the supported combination of screens with the laptop lid open or closed as you actually use it. The A8383 is a plausible fit for one HDMI monitor and a working set of peripherals. Its extra ports do not expand the number of HDMI outputs.
Follow a card-to-drive workflow
The SD and microSD slots let you choose the slot that matches the card you bring back from a camera or other device. Anker lists UHS-I for both. If your camera workflow depends on the higher transfer rates of a different card interface, check a dedicated reader as an alternative. The speed a card advertises may describe a compatible reader and a particular type of transfer. It is worth checking the interface before comparing transfer expectations.
Decide where the first copy goes. Import to internal laptop storage if that is where you edit and have enough room. If you work from an external drive, connect it to an appropriate data port and choose the destination by name before starting. A separate, verified copy is useful before you format a card or erase images from it. A hub can simplify connecting the devices that hold those copies. The workflow still needs a deliberate check that the files are present and readable.
Anker rates the USB data ports at up to 10 Gbps. The figure is a port capability. Actual transfers also depend on the card, the reader, the destination, the cable, the host and the files being copied. A batch of small files can behave differently from one large file. If transfer time matters, try a representative folder from your own camera and observe the total time from selecting the files to opening them on the destination.
If the workflow depends on accessing both slots at once, confirm that combination with your exact equipment before relying on it. You can import from one card at a time while checking the setup. Try each card and drive separately first. Then try the combinations you intend to use regularly. Eject mounted storage in your operating system before removing it or disconnecting the hub. On a shared desk, putting the hub beside your dominant hand may make card insertion easy, while putting it behind the laptop may keep the wiring tidier. Check which arrangement you can use without tugging on the attached lead.
Decide whether you need Ethernet
The wired Ethernet port is useful if the desk has an active network cable and you routinely move files to a local server, work where wireless reception varies, or want a wired connection for calls. Anker lists a gigabit Ethernet port. Your switch or router, cable, network settings and the service on the other end determine what the connection actually delivers. Plug the hub into a known working network jack and confirm in the laptop's settings that the wired interface connects.
Think about which part of your workflow is slow before buying for this feature. If you copy large files to another computer or a network storage device, a wired connection can be worth testing with a typical transfer. If an online upload is limited by your internet service or the remote destination, changing the cable at the desk may make little difference. People who rarely use wired networking may find a smaller hub and a separate reader easier to pack.
On a managed work laptop, confirm that the organization allows the network adapter and removable storage you intend to connect. A screen and keyboard can work while access to a card or a particular network remains restricted by policy. Check that separately so a policy restriction is easier to distinguish from a hardware fault.
Work out the power budget before bundling everything
The two USB-C ports on the hub serve different roles. One is a data port for a peripheral. The separate Power Delivery input takes power from a compatible external charger. Anker specifies up to 100 W into that input and up to 85 W passed through to the laptop. The charger is separate. Match the power supply and cable to your laptop and the hub's requirements, and compare the laptop's normal charger rating with the hub's output ceiling.
That difference matters on a machine used for demanding workloads. A laptop might report that it is charging while still using its battery under heavy load, or it might display a slow-charger message. Test the arrangement while you export images, run a long call or do the task that usually draws the most power. Watch the battery indicator for a representative session. If the laptop needs more power than the hub can deliver, use the manufacturer's charger directly where the laptop supports that arrangement, or choose a dock rated for the required power.
If you do not need charging through the hub, a simple setup is to keep the laptop's normal charger on its own port and use the hub for the display and accessories. This still saves plugging in the individual data and network cables. If the laptop has just one suitable port, the charging input is more important. Think about whether the power cable and video cable can both stay in place without forcing the laptop into an awkward position.
Try the desk in stages
Start with the laptop and one screen. Confirm the expected display mode. Add power and check that the laptop reports charging as expected. Then attach Ethernet and test one card or external drive. This gives you a known working baseline for each connection. After that, try the combination you want for a full session, including what happens when you wake the laptop from sleep.
If the display blanks or a drive disconnects, simplify the setup again. Try a different known working cable, confirm the correct laptop port and reproduce the problem with one accessory. Record which combinations work before changing several things at once. If a high-draw peripheral has its own power option, check the instructions for that device. A symptom that only occurs with one accessory attached gives you more to work with than a list of devices that were all connected when the problem appeared.
Consider the pack-up routine as well. Remove the storage after ejecting it, then disconnect the laptop from the hub. Leave enough slack in the permanent desk cables that the hub does not slide each time you pull the laptop away. If you take the hub with you every day, a separate reader kept with the camera and a fixed dock left at the desk may be a better division of equipment.
Choose the ports that save you a recurring step
Buy the Anker 555 if you regularly use SD or microSD, wired networking and an HDMI display together, and the laptop checks out for video and power. For a desk with one screen and ordinary USB accessories, a smaller hub such as the Anker 332 may be sufficient if its lower 4K refresh-rate limit suits your screen. If card transfer is the one demanding part of the job, compare a dedicated reader that matches your cards before buying a larger hub. If the setup needs two displays, higher laptop charging power or enough cable reach to hide the connections, look at a dock designed for that desk.
The choice comes down to a trial you can plan before ordering. Identify the exact host port, list the cables you would leave connected, measure where the hub could rest and check the operating requirements of the screen, camera card and laptop. If those pieces fit, the 555 consolidates several daily connections into a portable device with a clear purpose.