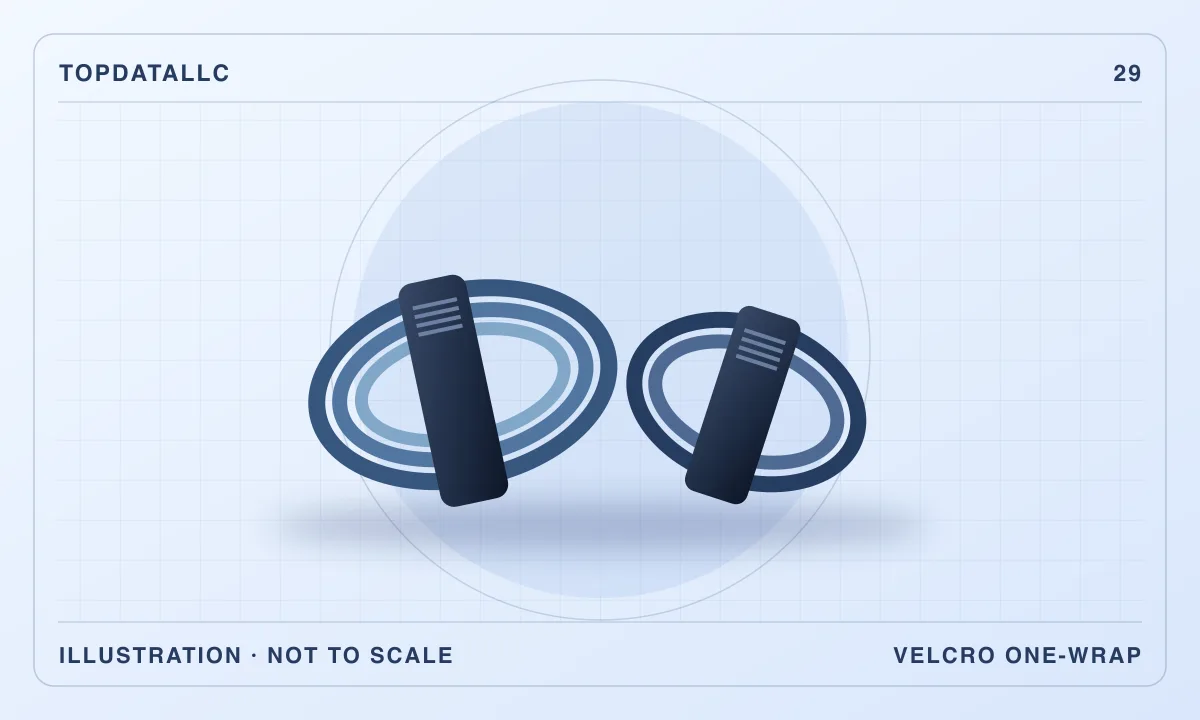
The black VELCRO ONE-WRAP ties in this pack are short reusable straps for cables you expect to move again. Each strip wraps around itself, so you can open it when a cable is replaced or a desk changes. The useful question is whether the eight-inch pre-cut strip fits the bundles you have in mind. A short reusable tie is handy for a charger or a small group of wires. It is less useful when a thick bundle or permanent support is the real problem.
This review covers the black US 100-pack of eight-inch by half-inch pre-cut ties. VELCRO describes the reusable hook-and-loop design. Tape Op's published review of the same nominal tie dimensions provides independent context from an audio equipment setting. Pack size and dimensions can vary across the ONE-WRAP line. Match the listing to the actual straps you want.
Separate loose cables from installed cables
A cable you take out of a bag and a cable you leave connected to a desk need different organization. The first needs a tidy coil and a closure you can open quickly. The second needs a path with enough slack at both ends, including room to move the equipment. Make a list of the cables you touch and the cables that should stay in place. Use ties for the groups that benefit from being opened and closed. Use suitable support designed for the job if you need to hold a heavy bundle against a surface.
On a desk, start with cables for devices you move frequently. Group the cables that actually travel together. For example, two loose charging cables may be more useful as separate coils if you seldom need both at once. Tying them into a neat bundle can make one cable harder to take without unpacking the other. A bundle is a small design choice. It should reduce the work you do every time you reach for one of its members.
For installed cables, route them before tying them. Check where you move the screen, pull out a drawer or unplug a laptop. Leave slack at the parts that move. A bundle that looks orderly while the desk is still can pull at a connection when the position changes. Route cables as their equipment instructions allow. The tie can keep the group together after the path and support have been decided.
Measure around the bundle instead of along it
The nominal length of a tie is the length of the strip. The strip has to go around the bundle and still overlap enough to hold as directed. Measure the circumference with a soft tape or a piece of string, then allow the overlap the product instructions call for. A wide, loose coil may take more length than you expect. A small coil may leave a tail you will want to tuck away so it does not catch on nearby items.
Check the width as well as the length. A half-inch strip gives you a fairly narrow band to place on a cable. It can be useful when the space between two connectors is small or a wider strap is awkward to feed through. For a large or heavy bundle, compare straps designed for that load and width. Tightening a narrow tie hard is a poor substitute for choosing a suitable length and providing support.
If the bundle fits only when you squeeze the cords or bend them sharply, use a different arrangement. Follow the device maker's guidance about bending and clearance. Keep the plugs free of force and leave space around vents and moving parts. A reusable tie is a way to retain a manageable group, not a way to put wires into whatever opening is available.
Make re-opening the tie part of the layout
The tie's main advantage is that it can be opened and repositioned. Use it where you expect to unplug or exchange a device, or where you want to test a temporary setup before settling on a permanent route. Put the overlap where your fingers can reach it. If it faces the wall or disappears under a shelf, the closure can still be awkward to use even though it is reusable.
Plan how many places along the route actually need restraint. Too many ties can make changing one cable as time-consuming as cutting out a permanent bundle. Space them so the cables stay together where needed and the service loops remain accessible. When you add a cable later, open the ties one at a time and check the movement again before closing everything. That lets you see whether one extra cable changes the bend or clearance.
For audio or camera equipment, keep the path into each connector easy to see. Tape Op's review illustrates the use of the strips on equipment cables. It is especially useful to separate the coil you store from the length that needs to stay free while a device moves. Coil the cord in the way its manufacturer recommends, then place the tie where it holds the coil without relying on the plug to keep it together.
Choose a practical pack size
A 100-pack can be economical when you have several workstations, a box of spare cables or a large rearrangement planned. Estimate the number of useful coils and attachment points before buying. If you only want to tidy one laptop and charger, a smaller pack or a mixed-length set may be easier to use. A large pack of one length gives consistency across identical jobs. It offers less flexibility when the bundles vary widely.
Black ties blend into many cords and desks. That can be an advantage when you want the ties to recede visually. It can also make it hard to distinguish which cable goes to which device. If identification matters, use a readable separate label or choose a color scheme that remains visible where you need it. Label both ends of a long cable when you can, because the end you need to unplug may be the one farthest from the device.
Store spare ties somewhere clean and easy to reach. The hook-and-loop material can catch lint or loose fibers when left among fabrics. Check the closure before reusing a strip and replace it if it no longer grips reliably. Keep the extras with the cables or the tools you use to rearrange the desk. That makes the reusable system easier to maintain than a large package stored somewhere unrelated.
Check where a tie is the wrong tool
A tie can keep cords gathered, but it does not turn them into a supported installation. Use clips, a tray or other suitable hardware for weight and routing when that is the task. For power cords and adapters, follow their instructions, including any limits on heat and how they can be arranged while in use. Keep outlets, vents, plugs and controls accessible. This review concerns ordinary cable organization.
A permanent tie is a different purchase when access is rare and a suitable installation calls for that fastener. A sleeve can be useful when you want a cleaner-looking group over a long visible stretch. An adhesive clip can set a path on a compatible surface while leaving individual cables accessible. Compare the way the cable will move and how you want to take it out later. Reusability is most valuable when a change is likely.
Build a tidy setup for a moving desk
A standing desk makes a useful case study. Some cables connect equipment that rises with the surface. Others run to a fixed device or outlet. Mark the points where the moving and fixed parts meet, then check the cable path at both working heights before securing anything. The group of cables that stays together at a fixed height may need to separate near the moving section. Keep the service loop where it cannot catch on the frame and use equipment-appropriate support.
Place the ties where a device can be removed without disassembling every bundle. For example, a removable charging cable may need a separate route from a fixed monitor lead. A change at the desk then takes one open tie instead of several. After adding or removing a cable, check both positions again. An arrangement can look tidy at its lowest position and pull on the port at its highest. Prioritize accessible routing over hiding every inch of wire.
Make a small kit for shared or portable equipment
For a travel kit, list the cables you expect to use at the same time. If a cable is shared between several devices, keep it easy to identify and reach. A small tag near the end can help distinguish visually similar cables with different uses. Wrap the loose coil so that the tie is easy to open and reuse. Keep connectors from snagging in the pouch by arranging them according to the cable maker's guidance.
For a shared workbench, use the ties to make returns easy. Give commonly borrowed cables a marked space and keep a few clean straps nearby. A borrowed cord should be easy to return without guessing which tie fits or where it goes. If you often receive new cables with different lengths, keep several tie lengths available or use a suitable cut-to-size roll. Buying a single length in bulk works best when most jobs have similar dimensions.
Try the bundle and the release before buying in bulk
Put together the thickest likely bundle using a temporary paper loop or a soft measuring strip. Allow the overlap needed by the fastener and room for the cords to sit naturally. Then consider how you will open it once the bundle is under a desk or inside a bag. A shorter tie can fit on paper but leave a tab too small to grip comfortably. If you find that the longest bundles are hard to close and the shortest bundles leave a lot of spare material, choose different lengths for the two jobs.
Count the recurring jobs rather than the total number of loose cables in the room. A tie earns its place where a change or access is likely. For fixed equipment, focus on clean routes and appropriate support first. The resulting pack size can be much smaller than you first thought. If many similar cables travel through the same shared area or kit, a 100-pack becomes easier to justify.
If the tie is close to a movable joint, place the overlap where it can be opened without moving the joint. Check both positions again after the tie is closed.
Who should buy the ONE-WRAP pack
Choose the black 100-pack if the length fits many small bundles and you expect to change or open those bundles regularly. Compare longer straps or a roll you can cut to size if the bundles vary. Choose dedicated support if the cables need to be held against a surface or take a specific route. The practical test is to measure the largest likely bundle and decide which ties you will actually want to open again.
For a workspace you change often, keeping several pre-cut ties ready can make a quick reorganization easier. For a single permanent installation, plan the route and support first. The right fastener is the one that fits the bundle while preserving access and keeping force off the equipment.